Saturday, April 28, 2012

DIY Felt Doll

Pin It Now!

DIY felt Doll tutorial
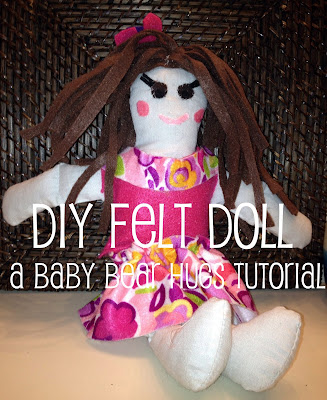
felt doll craft DIY toy

Our friends have twins and Baby Bear and I decided to make dolls for them for their 2nd Birthday.  I found these stuffed doll forms that looked like my doll that I had named Arlie and couldn't resist!


Materials
Eco-Fi Felt Squares (it is made from recycled bottles)
Muslin Pre Stuffed Doll (I got mine at Joann) 
Small piece of elastic band 


Fold your skirt fabric in half and cut across.  You will then fold it over and make another cut the long way. You should end up with two long pieces.  


Sew a seam across the short side on both ends of your skirt with the right sides together.  


Measure the band so it is slightly smaller then the waist of the doll.  You will then sew the end of the band together.  


Pin with only  a few pins the elastic on the wrong side of the skirt fabric.   You will sew it on your machine and stretch the elastic as you sew so it matches the entire length of the skirt fabric.  This will ensure that your fabric will have a nice ripple effect. 


Cut two squares that are slightly bigger then the dolls chest for your shirt.  


Now sew across the corners on the top and up the sides of the shirt leaving a space for the arms.  {If you want to applique the shirt, you will want to do that before sewing the sides. }  When you put your shirt on, trim the neckline in a nicer shape.  I chose a scoop neck and added an extra piece of fabric to finish off the design.  If you have felting tools, you can do the entire outfit without sewing.


Now is time to start personalizing your doll.  Baby Bear had brown wisps, so I chose a brown felt.  I used one whole sheet and cut thin strips.  For curls you will want to cut some waves. They have lots of fun patterns by Eco-Fi, so you can get creative with colors for hair.


Divide your hair into 2 bundles.  Sew across the middle of the strands.  You will do this for both bundles.  


Next design your face and applique it on or use fabric glue.   I also made a flower for the doll's hair.  You can play with the eye placement and size to create different facial looks and expressions.  


Here are the dolls that we made for the twins.  We even silk screened their names on them.  I used a piece of an old pair of jeans for the boy doll.  


Miss R with her doll


Mr. M & Miss R with their twin dolls. Thanks to their Mommy for the pictures!

Awesome DIY Mother's Day Craft

Pin It Now!
I have been really busy with my in-laws visiting this past week and looked up some DIY ideas to pass along for Mother's Day.  


I decided that this one blew them all out of the water and so I am only sharing this blogger that I found, her name is Sarah Ortega.  


My background is in the Jewelry Business, so when I saw her DIY finger print necklace, I fell in love!!  

At the design and manufacturing house where I worked, we cast (in precious metals) and also created CAD designs with finger prints on them.  It is tricky to cast a finger print and finish the piece all while keeping the print in tact and doing the finger print in CAD, looks really cool, but it lacks the beautiful handmade quality.  


These faux silver print necklaces are so sweet and give endless possibilities.  I am going to try them for my gifts this week and I will share the photos.  

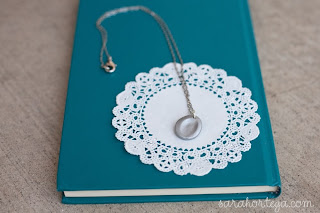
faux silver finger print necklace tutorial for mothers day
photo by Sarah Ortega


Thank you Sarah for letting me share this!

Sunday, April 22, 2012

Every Day is Earth Day!

Pin It Now!
Happy Earth Day!!

We believe that EVERY DAY is a day to cherish and celebrate our planet.


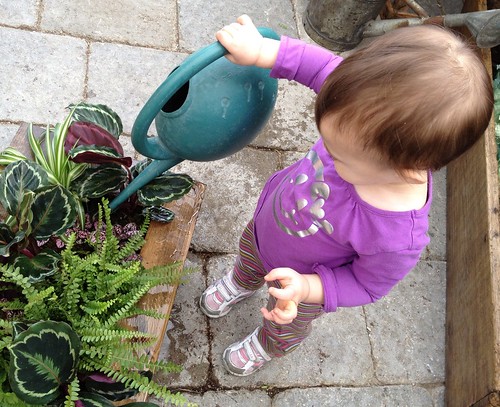
baby bear hugs with a watering can watering plants for earth day


Baby Bear LOVED watering the plants so much and yelled "mo mo mo" and we had to refill the watering can 3 times.  


{This planter is going to be featured in a few days for our upcoming tutorial on planting a living wall}


Celebrate Earth Day by taking a walk outside and enjoying the fresh air.    


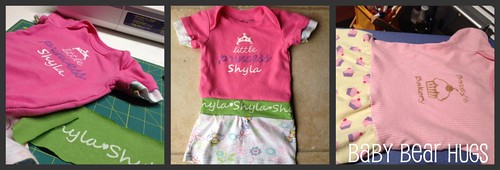
But you if really want to shop and celebrate, you can get a custom  Baby Bear Hugs dress for $18, or a personalized dress for $25. Email me

3 personalized

Wednesday, April 18, 2012

Pimp Your Ride!

Pin It Now!
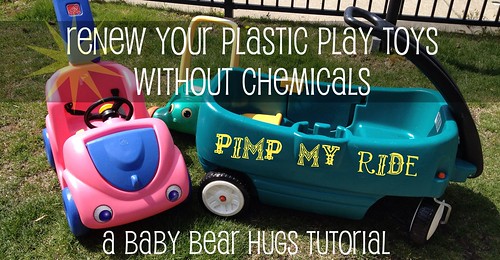
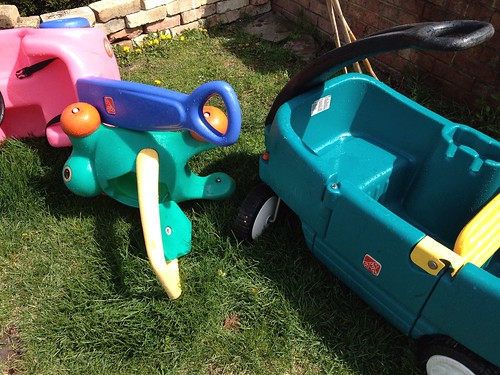
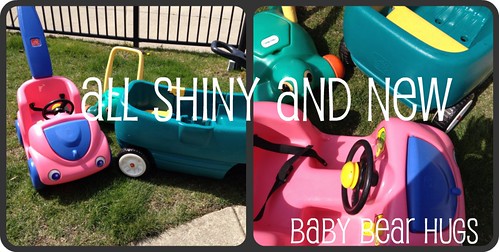
Baby Bear's plastic toys were looking a little old and tired after being in the garage all winter and needed a little shine.

renew your plastic play toys
renew your plastic toys without chemicals
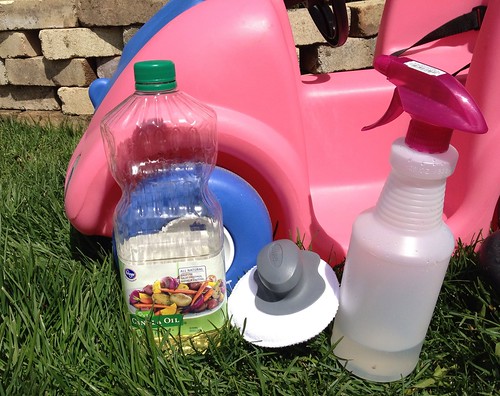
I went to the store to purchase some car dashboard cleaner and looked at all of the chemicals that were in it.  Plus it had a bunch of warning on the label and I decided not to purchase it.  I instead got the same kind of hand buff that I would have use and decided to try another way without chemicals. Plus with this method, the only 'side effect' is soft hands after cleaning or pushing around your child!

Untitled

Materials

Canola or Vegetable Oil
Polishing pad or soft cloth and rags

You don't need super fancy oil since you are just using it as a cleaner, so the store brand will do just fine.

Untitled

Give your plastic toys a good washing with the hose and use your Vinegar Cleaning Solution for any stubborn stains or goo.  Then let them dry in the sun when they are all clean.

Untitled

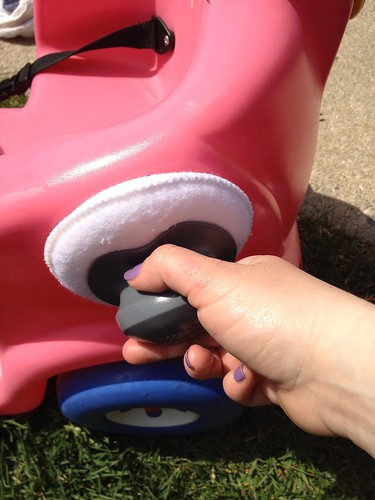
Put a generous amount of oil on your buff and rub it all over your toy in circles.  

Untitled

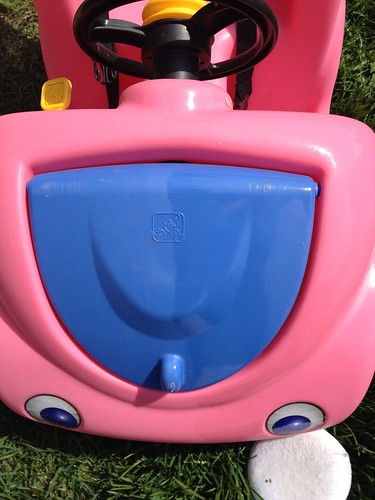
You can see how much brighter the side that I buffed is.  Make sure that get off any excess oil from the toy and then you are ready to play.

shiny and new

Baby Bear even said "ooOOoo" when I was done!

Sunday, April 15, 2012

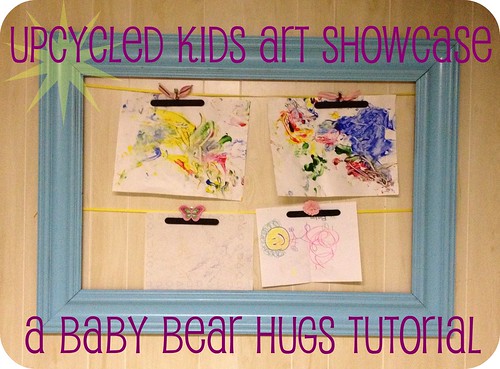
Easy Upcycled Frame for Kids Artwork

Pin It Now!
Upcycled kids art showcase header


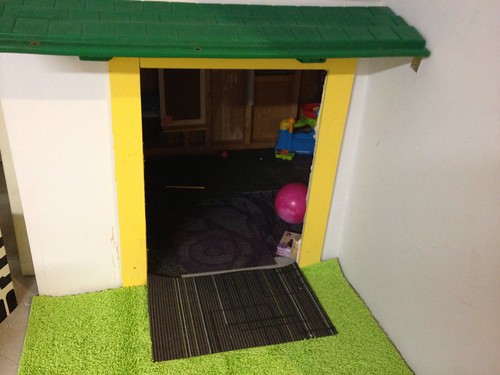
We are still working on our Basement and decided to begin to tackle the 2 rooms that we have.  I even updated our play house a little bit more by painting the door molding and adding 'grass' a bright green shaggy rug.  

Untitled

To refresh your memory of what it looks like, see here.

We decided to make Room 1 more of a Hang Out Room next to the play room.  We have an armorer and an L Shaped couch that we brought with us from our apartment in Chicago.  


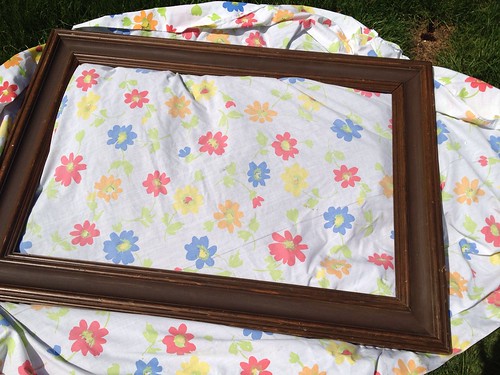
Next, we have this crazy large frame that I 'saved' from the trash in Evanston that I wanted to use for decoration on the wall.  I knew that it would have some cool use in the future, so I made Mr. BBH take it with us when we moved!

I always wanted a place my child could display their artwork and be proud besides the fridge. 

Untitled


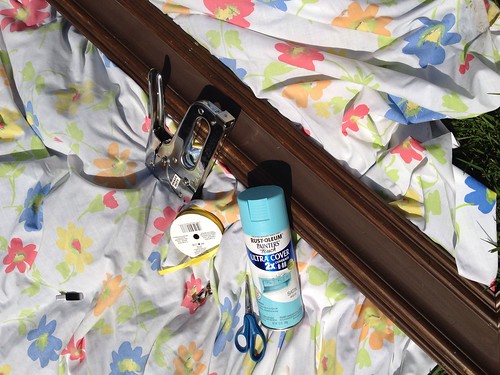
Materials
Large Frame
Spray Paint & Protective Gear
Ribbon 
Staple Gun
Clips or Clothes Pins
Glue Gun
Chalkboard Paint
Other Embellishments

Untitled


Make sure the frame is clean.  You may want to rub a damp cloth on it prepare the surface.  Then lay it out with a drop cloth under it.  Remember that You should only spray paint in a well ventilated area and preferably outside.


 If you do not have a large frame, go to an estate sale or garage sale before you purchase a new one. It is one of those random things that people just seem to have and they have much more character then painting something that is new.

Untitled

I wear a respirator when I use any spray paint so I do not breathe in any harsh chemicals.  I also put on glasses for protection.  


Untitled

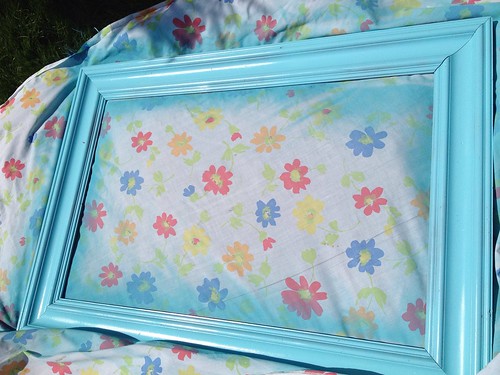
Shake that spray paint before painting per the directions.  You don't want to skimp on that step and risk clumps.  Take long strokes around your frame for the first coat.  I did 3 coats until I was satisfied with the coverage.  Let the paint fully dry before you go onto the new step.


Untitled

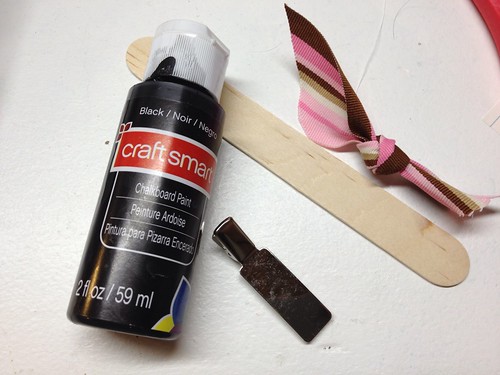
In the meantime, start your clips!  I used chalkboard paint on large Popsicle sticks so that I could write about the work or date that Baby Bear did.  I used my hot glue gun to glue the ribbon scrap embellishment to my clip.  

Untitled

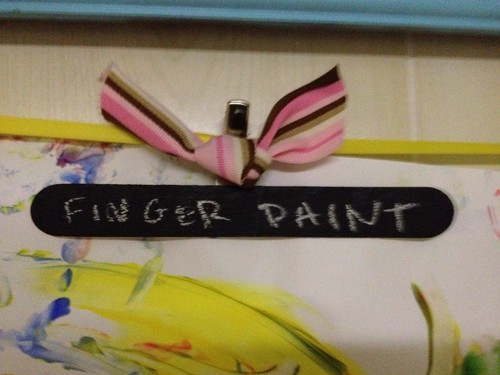
Here is what the finished clip looks like.  

Lastly, stretch the ribbon across the back and the height that you need it at.  Make sure to pull it super tight so it will not sag.  Staple it in place with a few staples. You may need to add hardware to the back so that the frame can hang on the wall.  Ours had something already so we just hung it up.
Untitled

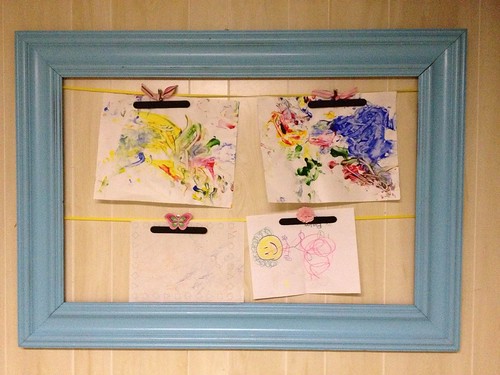
Here is our final piece.  We are going to put Baby Bear's name on it with wood letters for a final touch.

Chagall lithograph authenticated!!

Pin It Now!
Here is our updated style
marc chagall lithograph kibbutz erin harod museum
We were about to authenticate that this was a Marc Chagall Print (Thanks Danielle Peleg Gallery).  

Another thanks to the RePurpose Team and Cari for this awesome addition to our home.  

Not only is awesome that we have a great poster lithograph in our home, but it is also something that we recycled!


Tuesday, April 10, 2012

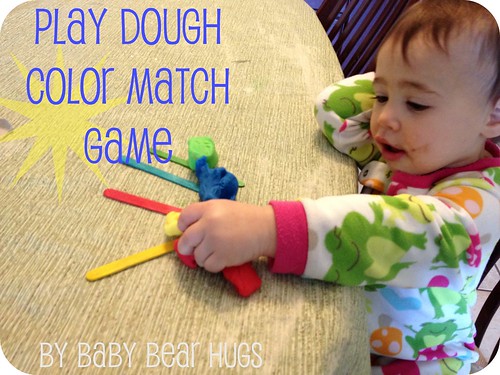
Playdough Color Match Game

Pin It Now!
play Dough color match game

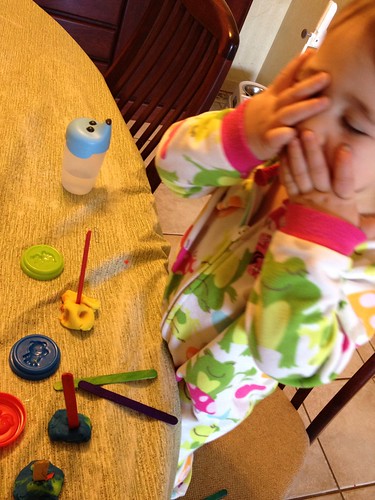
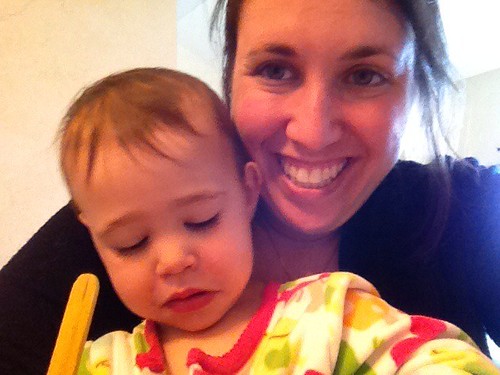
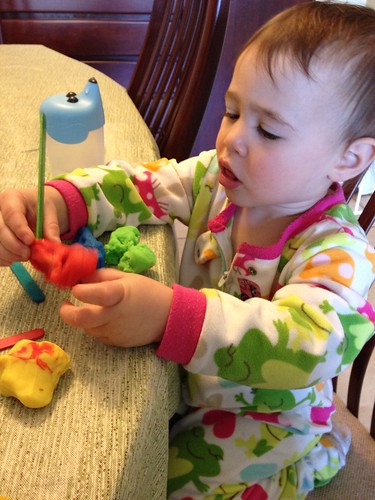
Baby Bear has been feeling under the weather with a double ear infection and a cold. She has mostly been having PJ days and cuddling on the couch.  We pulled out some playdough and a few other things that were the same color as the dough that she had so we could match them up and break our lazy routine.   

Materials
Playdough (aka Play-Doh) with 3+ colors
2 objects with colors that match your playdough (we had sticks and animal molds)


The cuddle factor was really important today!

Untitled

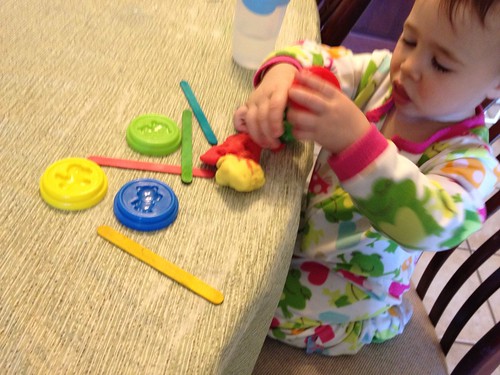
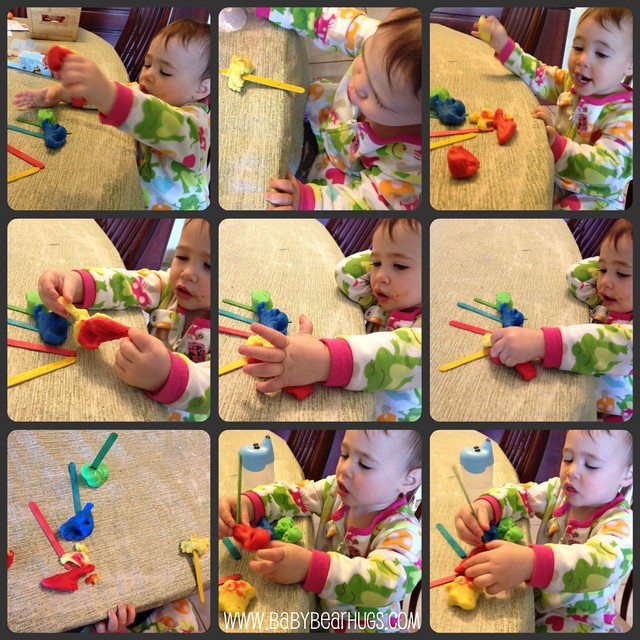
First I showed her how to match the color up so she had an example of what to do.  She was very eager to play, so you can see in the photo that she is already working with a yellow stick in her hand.  


Untitled


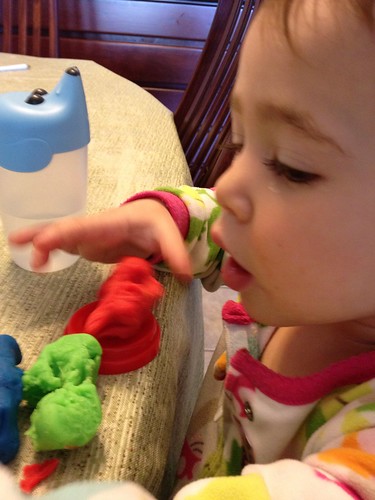
It took her a while to get to the match part since playing with the dough and the sticks together is really fun.
Untitled


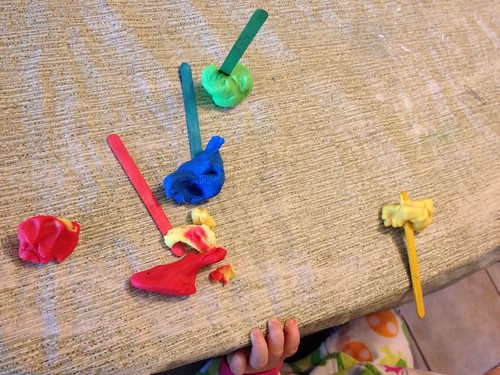
Here are all there sets of colorful objects together so you can see what we used.  


Untitled


She is starting to get the hang of it here

Untitled

and here.

Untitled

This is when she stated to get imaginative.  She is covering her eyes because she thinks they look like Shabbat Candles.  


Just remember to have fun with it while you are sneaking in the learning.

playdough collage


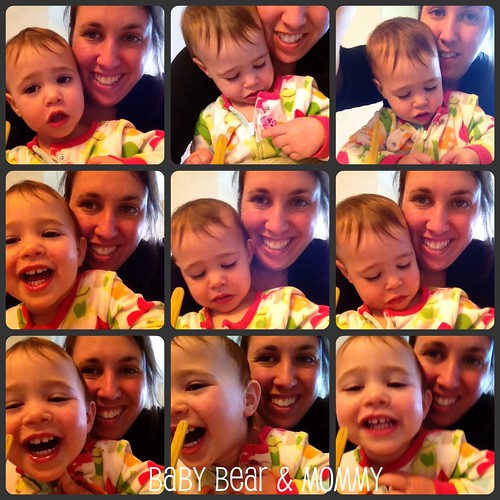
baby & momma

Monday, April 9, 2012

Family History in China, Glass & Silver Serving Pieces

Pin It Now!
My mom gave a great idea.  She was cleaning out her china cabinet for Passover and started telling me the history of her family heirlooms.  I started snapping photos so that I could make a 'Who's Who?" of our items that have been passed down in our family.

family heirloom project stamp
Part ONE of the Series
  

The value in these items really is that they are branches in our family tree that we can tangibly touch.  Baby Bear can use the same things for holidays that her Great-Great-Great Grandparents used.  They evoke memories, senses, and meaning to our celebrations and everyday.

My parents are 3rd generation America, so the oldest antiques are not that old.  I also did a bit of research on my family before Baby Bear was born, so hopefully I can share that with you as we talk about each of the pieces. 


I do not know very much about the actual history of the pieces and where they came from, so if you know anything, please let me know too in the comments below!  

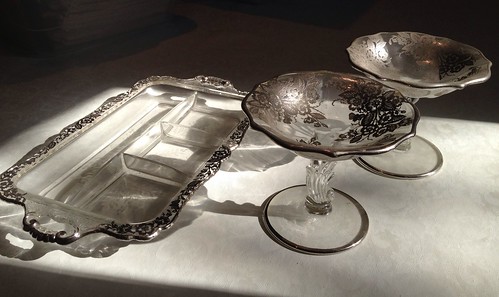
Guggie's Silver Painted Glass


Reva Goodman's Etched Glass and silver painted set with 2 candy dishes and relish dish.  Reva Goodman was my Great Grandma.  She was married to Louis Goodman (born in Russia).  


I came upon a distant relative that created a website with some of our family history, here is Reva Goodman (Born Rebekah Suravitz).  She was born in the US in 1895 in Scranton PA to Myer Suravitz [Lithuania] and Bertha (Asher) Suravitz [Austria-Hungry].  She was very progressive and even eloped with her husband.  She had an older 1/2 sister that was not married and so they forbade her to marry first.  She was married in 1917.


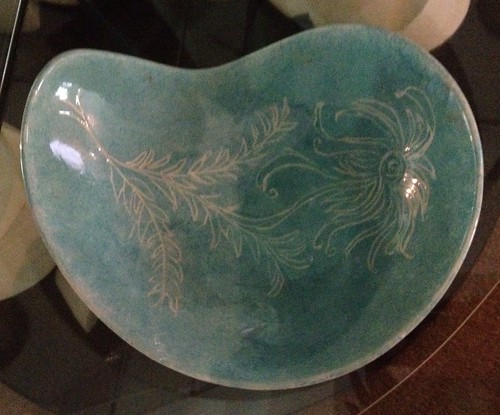
Flower Ceramic bowl by Riva Goodman

This is a Flower Ceramic bowl by Riva Goodman.  She was very talented! I love that I can trace some of my artistic talent and love back so far! 

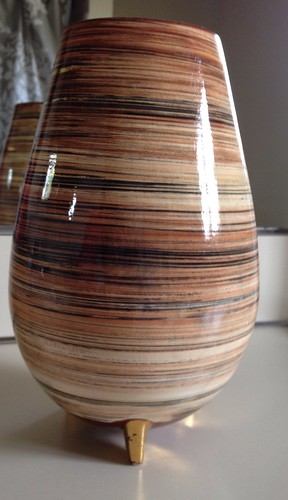
Vase by Riva Goodman

She also created this ceramic vessel.  


Untitled

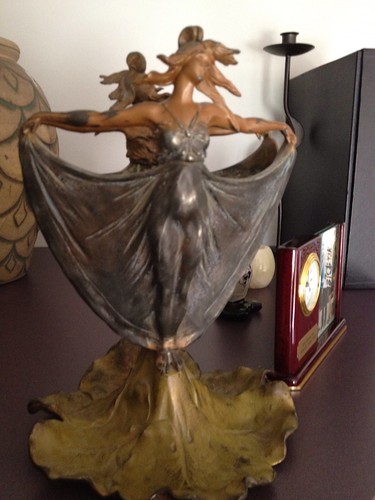
I love this metal dancer vase.  It was also Reva Goodman's.  


Mint candy dish from Guggie

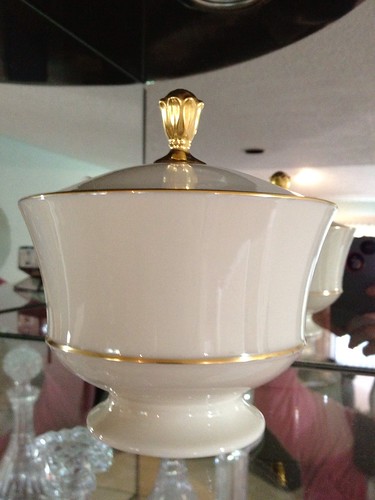
This Gold and Porcelain bowl with lid always had mints inside at my Great Grandma Reva Goodman's House.  We called her Guggie, because that is what my mom called her.  She always had those soft mints inside like these:


I call them Guggie mints since I remember eating them at her apartment when I was really little.  


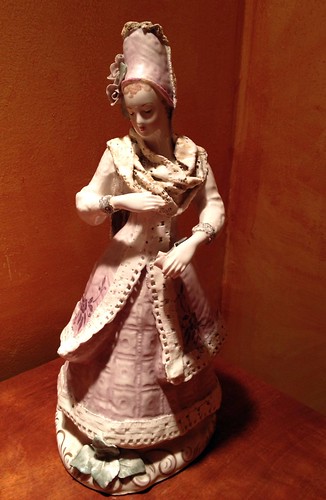
woman ceramic sculpture

This woman statue also belonged to Guggie.


More to come in this series...
Tell us about your family heirlooms!
Related Posts Plugin for WordPress, Blogger...