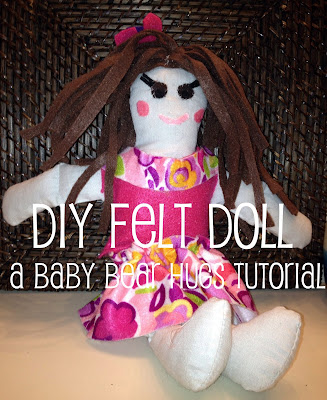
DIY felt Doll tutorial
 |
Our friends have twins and Baby Bear and I decided to make dolls for them for their 2nd Birthday. I found these stuffed doll forms that looked like my doll that I had named Arlie and couldn't resist!
Materials
Eco-Fi Felt Squares (it is made from recycled bottles)
Muslin Pre Stuffed Doll (I got mine at Joann)
Small piece of elastic band
Fold your skirt fabric in half and cut across. You will then fold it over and make another cut the long way. You should end up with two long pieces.
Sew a seam across the short side on both ends of your skirt with the right sides together.
Measure the band so it is slightly smaller then the waist of the doll. You will then sew the end of the band together.
Pin with only a few pins the elastic on the wrong side of the skirt fabric. You will sew it on your machine and stretch the elastic as you sew so it matches the entire length of the skirt fabric. This will ensure that your fabric will have a nice ripple effect.
Cut two squares that are slightly bigger then the dolls chest for your shirt.
Now sew across the corners on the top and up the sides of the shirt leaving a space for the arms. {If you want to applique the shirt, you will want to do that before sewing the sides. } When you put your shirt on, trim the neckline in a nicer shape. I chose a scoop neck and added an extra piece of fabric to finish off the design. If you have felting tools, you can do the entire outfit without sewing.
Now is time to start personalizing your doll. Baby Bear had brown wisps, so I chose a brown felt. I used one whole sheet and cut thin strips. For curls you will want to cut some waves. They have lots of fun patterns by Eco-Fi, so you can get creative with colors for hair.
Divide your hair into 2 bundles. Sew across the middle of the strands. You will do this for both bundles.
Next design your face and applique it on or use fabric glue. I also made a flower for the doll's hair. You can play with the eye placement and size to create different facial looks and expressions.
Here are the dolls that we made for the twins. We even silk screened their names on them. I used a piece of an old pair of jeans for the boy doll.


I wish I was good at sewing (or even knew how to) because this looks like a great project I could do with my daughter. Great idea!
ReplyDeleteIf you want to do it "no sew" get some fabric glue and let it dry thoroughly before turning it right side out. I hope you try it!
Deletethey are loving it more each day!
ReplyDeleteThanks so much:)
so happy that they love them! I can show your girls to sew if you want also :)
DeleteThis looks like something I can handle making. Very cute and great present ideas.
ReplyDeleteI invited my friend Lauren Benkovic and tagged her to this giveaway on your facebook site.
ReplyDeleteHope I did it right.
Delete