Seder Plate Tutorial
{With Free Silhouette Studio file download}
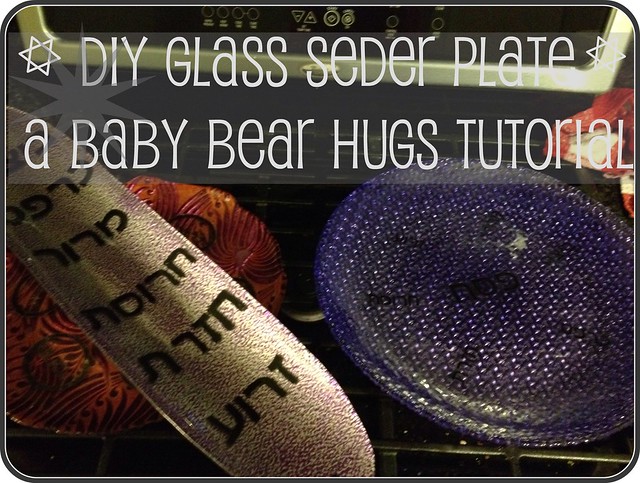
I was originally going to make this a glass etching tutorial, but the etching is much better suited for a clear glass surface, so I will save that for later. I added way too many steps to this process by first etching and then having to go back and fill in with glass paint.
baby bear hugs seder plate tutorial
Passover is coming so fast and this will be the first Passover is our new house! You can use this tutorial to make a personalized plate or a plate for other holidays too using the same steps, so keep reading even if you do not need a Seder Plate.

I was originally going to make this a glass etching tutorial, but the etching is much better suited for a clear glass surface, so I will save that for later. I added way too many steps to this process by first etching and then having to go back and fill in with glass paint.

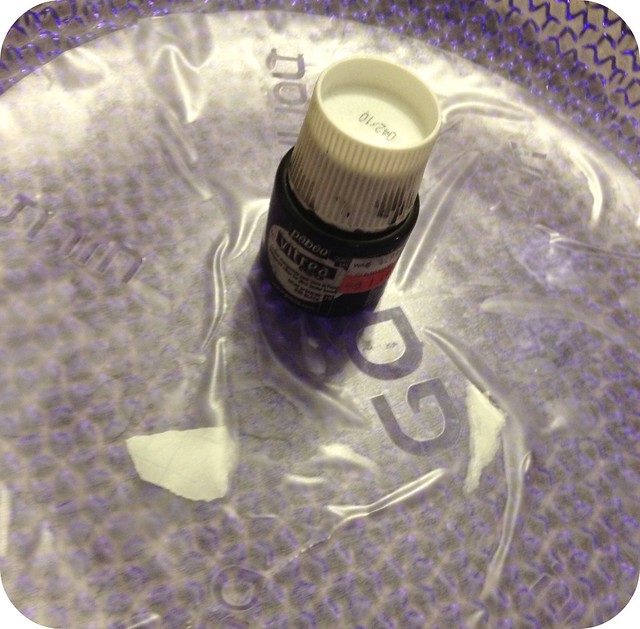
- Materials
- Glass plate
- Contact paper
- Seder Plate Download or xacto knife cut out pattern & exacto knife
- Pebeo Vitrea Glass Paint
- Paint Brush

First print out the Seder Plate Template or cut out with your Silhouette Cameo Machine. Make sure to load the contact paper into your silhouette with the sticker backing facing up. If you are going to cut out the stencil with an exacto knife, make sure that you cut the correct side before doing all of the work! (Trust me, it took a few tries with the Silhouette when I first got the machine).
If you want to trace the design onto the contact paper before cutting, be sure to use clear contact paper. Tape the design onto a window with lots of light coming through. Then put your clear contact paper over it and tape that on top. Now you can see though to your design behind like a light box!

Stick your contact paper sticker onto the clean glass surface and make sure to smooth out around the lettering so that you have no openings. It may help to mark where you are sticking it with a grease pen, then use the 'wrong end' of a pen to smooth over the letters.
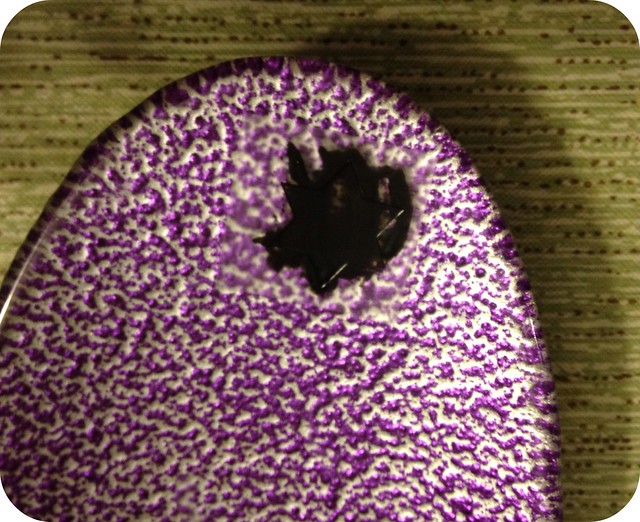
Now use your Pebeo Vitrea Glass Paint to fill in your stencil opening with your paintbrush. You may need more then one coat. Let it dry for a few minutes and go over it if you need to. Wait until dry and then slowly peel off the sticker and fill in any areas that you need and use and exacto to clean any mess off your design.
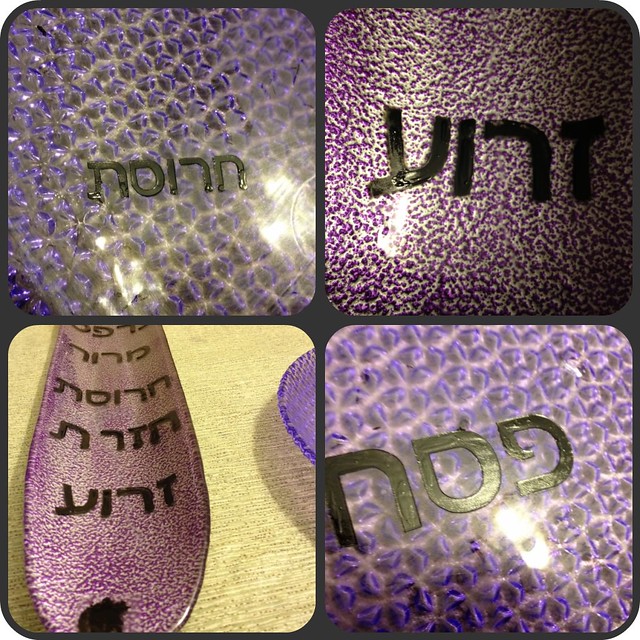
You will need to let the finished design dry for 24 hours.
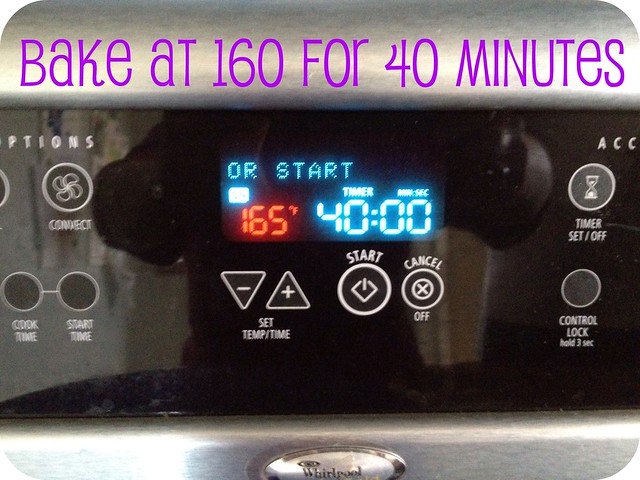
Then put the plate in the oven and bake on 160 for 40 minutes. You want to put the plate in the oven before you turn the oven on so that it does not crack from the heat shock.
(My oven has 170 as the lowest setting, so I used that)
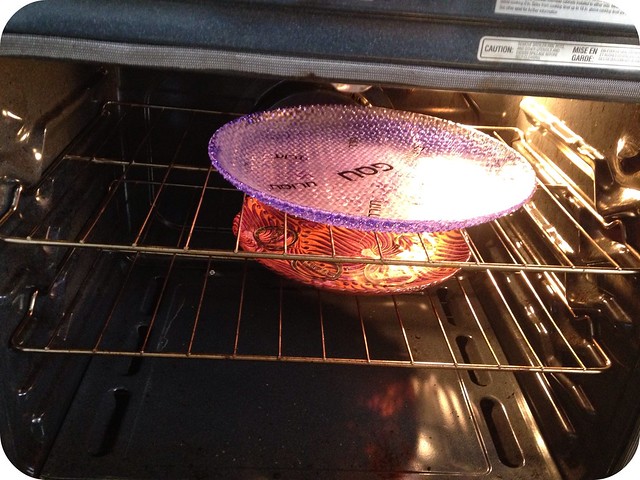
When the 40 minutes are up, turn the oven off and leave the plate in the oven until the oven is cool and the plate is cool to the touch. If you take it out too soon, it could crack from cooling down to fast.
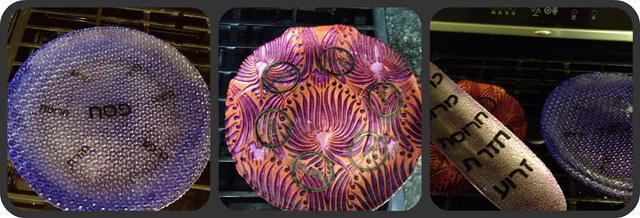
I hope that you will enjoy and cherish this potential heirloom piece of Judaica!
Now you will need to get all of your Seder plate items ready:
a Shank bone, an Egg, Bitter Herbs, Choroset, A Green Vegetable & Bitter Herbs. To find out more about how to prepare your Seder, please check out Passover.org
You can buy one of these Seder Plates, email me
CLICK TO DOWNLOAD THE SILHOUETTE STUDIO FILE
CLICK TO DOWNLOAD THE JPG TO CUT WITH AN EXACTO
Don't Forget to enter our giveaway!
PS. the long seder plate is not a Kosher Seder plate

Thanks for sharing. Looks like a fun craft & it came out great!
ReplyDeleteCan you do this with decoupage instead of contact paper? Thanks so much for sharing! Your seder plate looks amazing!
ReplyDelete