

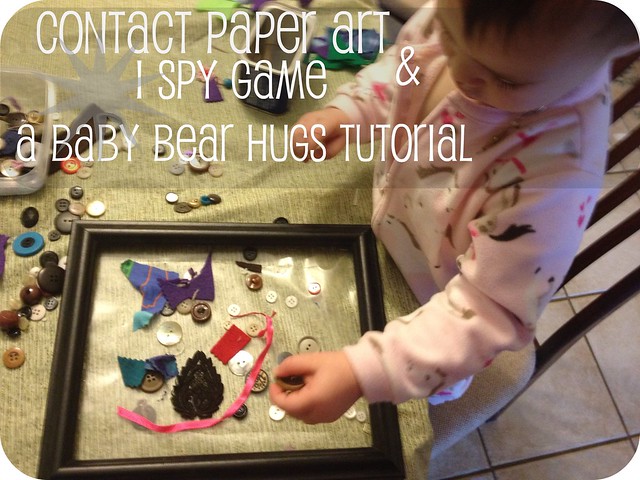
I have so much contact paper since I purchased it for my silhouette. My computer is getting fixed (yuck..viruses) and I will be up and silhouette-ing tomorrow, but for the past 3 weeks I have been just staring at the roll of contact paper. I saw on Pinterest that a mom did crafts with tissue paper and stuck it on the window like stained glass, but I wanted to do something with materials that I already had. As you can see, Baby Bear is in her PJ's since we did this project early in the morning (aka before I would prefer to be out of bed).
 Materials
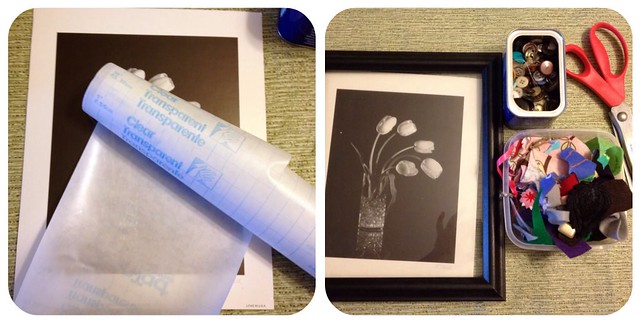
- Contact {con-tact} Paper
- Pick some of these:different color and texture scraps of fabric/paper/ribbon, buttons, glitter, stickers, magazine cut-outs, or go outside and get some leaves and flowers
- Old Frame
- Scissors
- Sharpie
Put the Contact Paper FACE DOWN on the table (or you will have to re-do like me {LOL}). First open the frame and take out anything inside that you can use to measure the dimension onto the contact paper. I chose clear because that is what I already had, you can use any color because you will fill it up with decorations and the pattern or color will not show after being covered up.
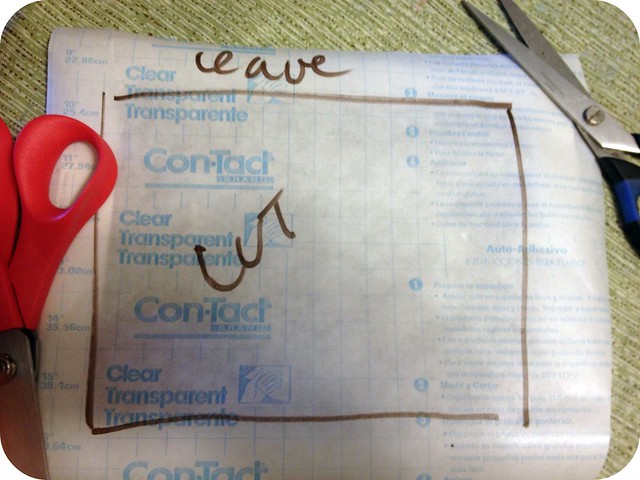
Use the sharpie to trace around so you know that shape that you will need to fill. Next trace around the frame. You will want to cut out the inner shape. You can gently score the backing and then peel out the part that you do not need. I you have a Silhouette Cameo, then you can easily make a perfect cut with the dimensions.
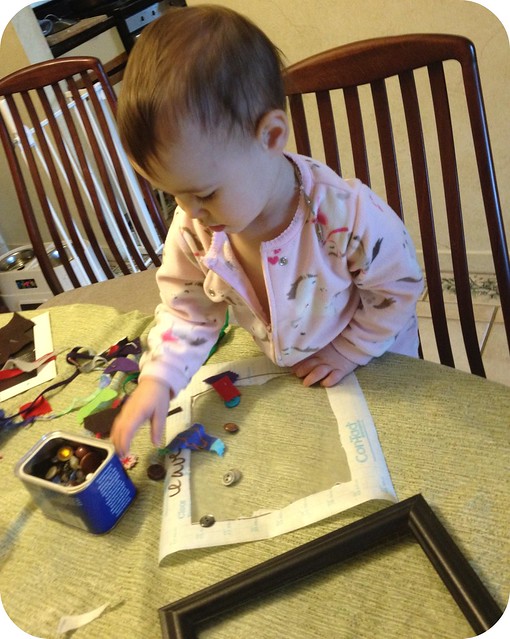
I showed Baby Bear with her hands that the surface was sticky and that if she placed an object that it was going to stay so she understood the art medium.
I showed Baby Bear with her hands that the surface was sticky and that if she placed an object that it was going to stay so she understood the art medium.
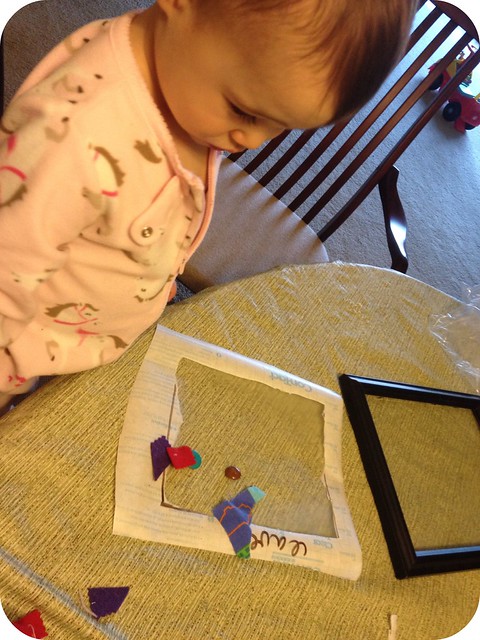
You can see that I left the boarder on so that she could understand where to put the objects
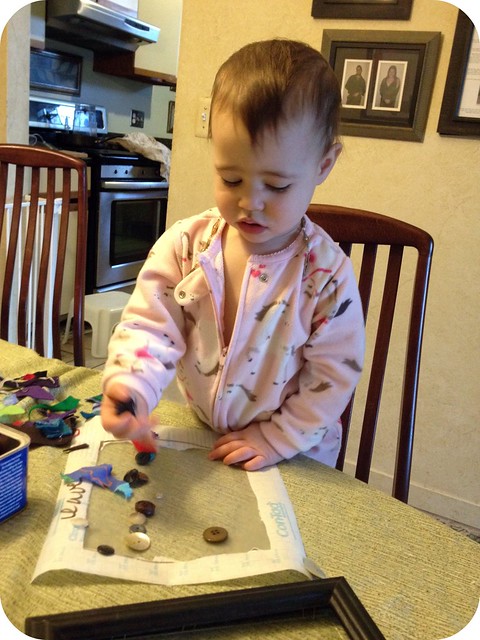
The buttons were her favorite, so I had to help a bit to make sure that we could have enough diversity for the I Spy game and fill in the gaps.
Stick the contact paper on the back of the frame and reinforce with cardboard if you need behind it. You can also add another clear contact paper on top if you want to laminate it.
I like to display Baby Bear's Art after she is finished so she can see that we are supportive of her creativity. Now you are ready to play I Spy the next time you want to do an activity.
Not only do I love this project because it is something for Baby Bear to do without using glue, but I also have buttons and random art objects that have been in a tin from my great grandmother.

I Spy
something orange
a purple flower
a larger black jewel
a bird
a square pearl
a pink flower
a small black button
a large shiny white button
a thin read ribbon
an orange car
a thick red ribbon
something light green
black lace
Please share a photo of your finished I Spy
and I will post it
{don't forget to enter our GIVEAWAY}
black lace
Please share a photo of your finished I Spy
and I will post it
{don't forget to enter our GIVEAWAY}
Brooke!!! This is SO cool!!! I love it the whole process and the finished idea is amazing!!
ReplyDelete